Gems hidden in plain view.

I couldn’t have said it better:
While OpenCV was designed for use in full-scale applications and can be used within functionally rich UI frameworks or without any UI at all, sometimes you want to try some functionality quickly and visualize the results. This is what the HighGUI module has been designed for.
It provides easy interface to:
- Create and manipulate windows that can display images and “remember” their content (no need to handle repaint events from OS).
- Add trackbars to the windows, handle simple mouse events as well as keyboard commands.
- Read and write images to/from disk or memory.
- Read video from camera or file and write video to a file.
HighGUI hides a few gems that might not be very well known.
💎
Snap to Window Border
When developing algorithms, it is very common to open several windows and compare them. HighGUI cv::imshow is perfect for this.

However, to compare two images the windows must be perfectly aligned.
Luckily, on Windows, HighGUI windows automatically snap to the screen edges, so that it is easy to align and stack your image windows for pixel perfect alignment.
💎
Copy to Clipboard
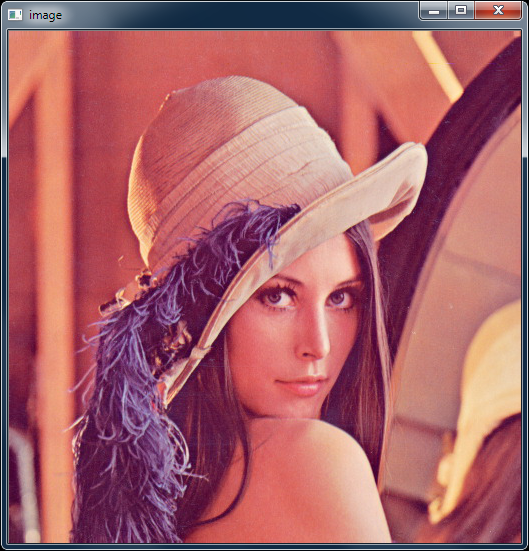
Sometimes you want to save the contents of a HighGUI window. You could take a screenshot (was it Alt+PrnScr? Ctrl+Cmd+Shift+4?), and even then, you often get the screen border and have to start cropping that out (see screenshot above).
On Windows, just hit Ctrl+C and the image is copied to the system clipboard.

💡 Upon Ctrl+C
cv::waitKey()returns3. Ignore this value to avoid closing the window.
💎
Mouse Wheel Support
HighGUI windows support the usual mouse events. On Windows, is also supports mouse-wheel events (both vertical and horizontal (where available)).
The relevant events are EVENT_MOUSEWHEEL and EVENT_MOUSEHWHEEL. The amount of scrolling is returned by getMouseWheelDelta().
Putting it all together (with a sprinkling of C++11) looks something like this:
#include <iostream>
#include <opencv2\highgui.hpp>
#include <opencv2\opencv.hpp>

int main(int argc, char* argv[])
{
    if (argc < 2)
    {
        std::cerr << "Usage: " << argv[0] << " <image file name>\n";
        return EXIT_SUCCESS;
    }

    cv::Mat img = cv::imread(argv[1]);
    cv::imshow("image", img);

    cv::setMouseCallback("image", [](int event, int x, int y, int flags, void* userdata)
    {
        cv::Mat& image = *reinterpret_cast<cv::Mat*>(userdata); // get source image
        static cv::Mat tmp; // make static to avoid reallocations per call
        image.copyTo(tmp);  // overwrite old image with fresh copy

        static int radius = 21;
        if (cv::EVENT_MOUSEWHEEL == event)
            radius = std::max(11, radius + cv::getMouseWheelDelta(flags) / 120);

        cv::circle(tmp, { x,y }, radius, { 255.,255.,255. }); // draw a circle around mouse position
        cv::imshow("image", tmp);
    }, &img);

    const auto CTRL_C = 3;
    while (CTRL_C == cv::waitKey()); // don't close on Ctrl-C

    return EXIT_SUCCESS;
}
Briefly, the code:
- Loads an image with
cv::imread(); - Displays it using
cv::imshow; - Sets a mouse-callback via
cv::setMouseCallback():- Uses a non-capturing lambda which converts to a function pointer;
- Passes the input image as
userdata; - The lambda:
- Makes a copy of the source image to draw on;
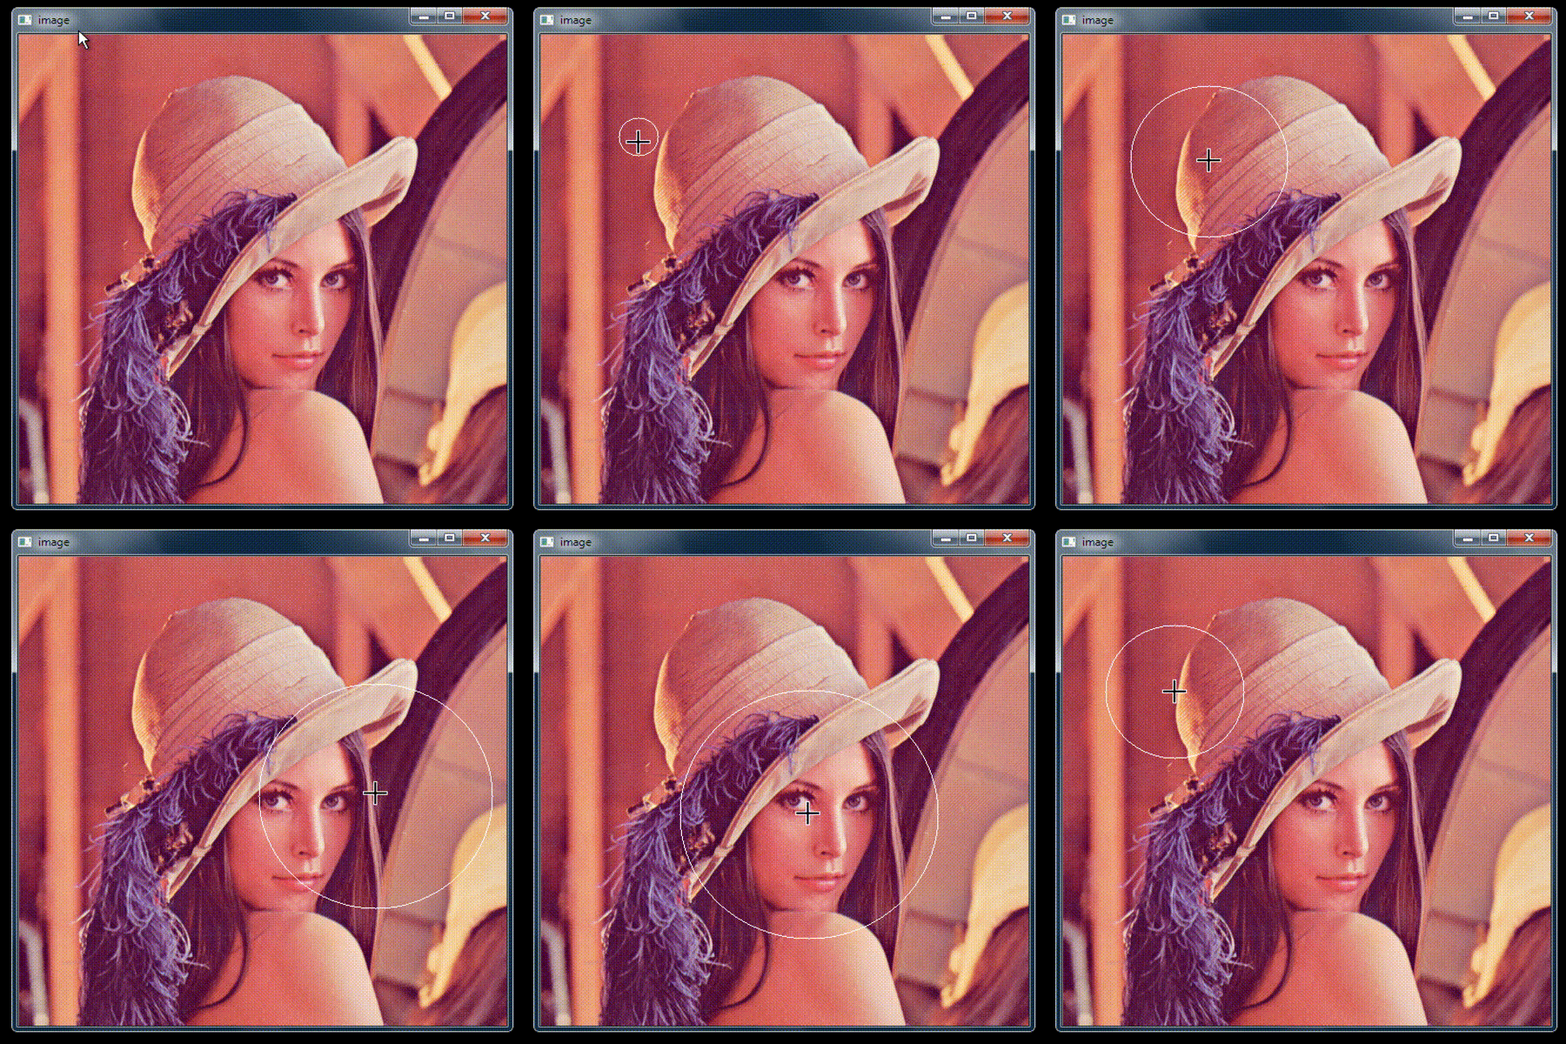
- Captures the mouse wheel event and changes the circle radius based on the scroll amount and direction;
- Draws the circle on the image and displays it.
- Waits for keyboard inputs before exiting, but ignores Ctrl+C.
Which results in this:

Windows Only
As you may have noticed, these particular gems are all Windows specific (I should know, I implemented them).
Have you always wanted to contribute to an open source project?
Got some GUI experience on various windowing platforms?
Well, here’s your chance! OpenCV will gladly accept pull requests for more platforms.
💎
You can find the sample app on GitHub.
Got more tips and gems, please share them with me in the comments below, Twitter or elsewhere!
Acknowledgments: banner :: Lena
